
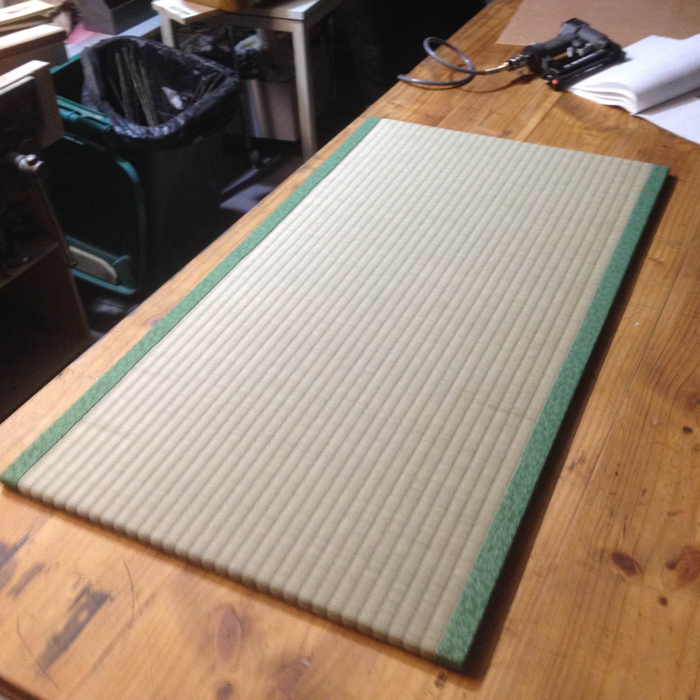
Our DIY tatami kit lets you make an authentic Japanese tatami mat at home. We make the tatami surface sheet (goza) with the border (heri) in our Tokyo workshop. You add a plywood core and fix it with a staple gun. No sewing is needed.
What's in the kit
- The tatami making kit itself: the tatami surface sheet (goza) with the border (heri), in Standard or King size
- Bonus: about 10 small, thin tatami mats
Step-by-step manuals (English / Japanese) can be downloaded free as PDF files.
Not included: plywood core, staples and tools (see “What you need to prepare” below).
DIY tatami mats made with our kit
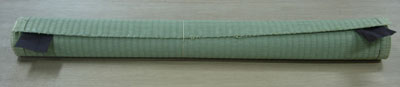
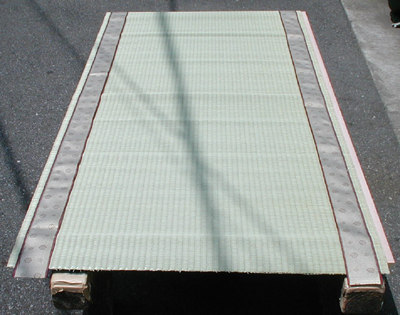
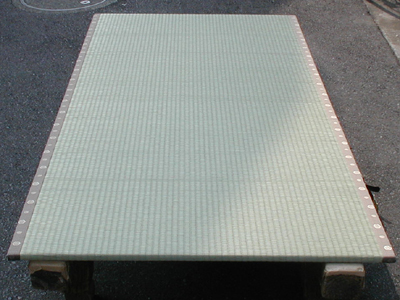

DIY tatami for outdoor tea ceremonies (Nodate)


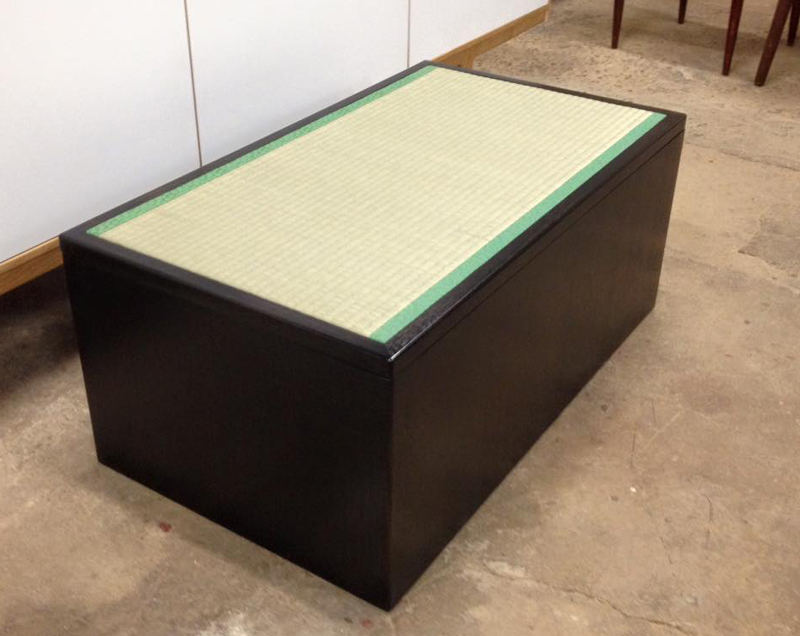
DIY tatami built into furniture
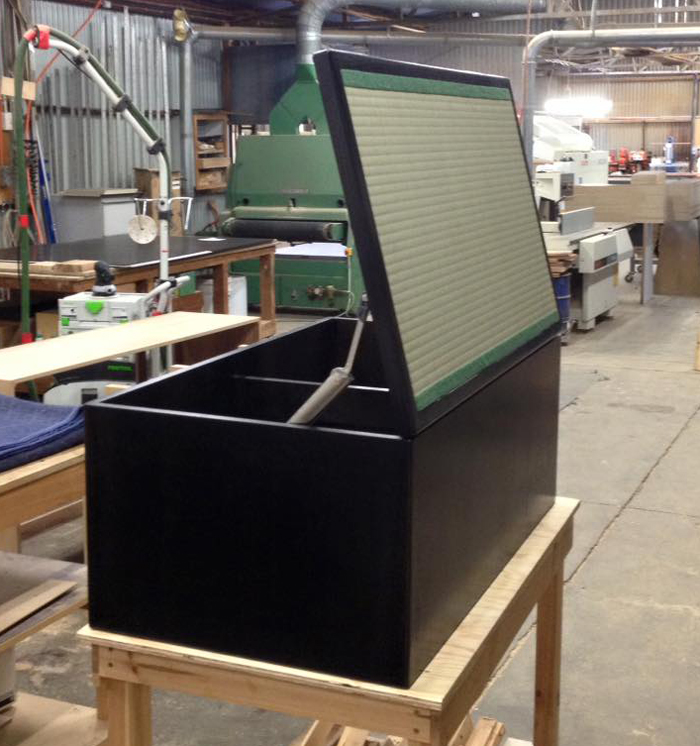
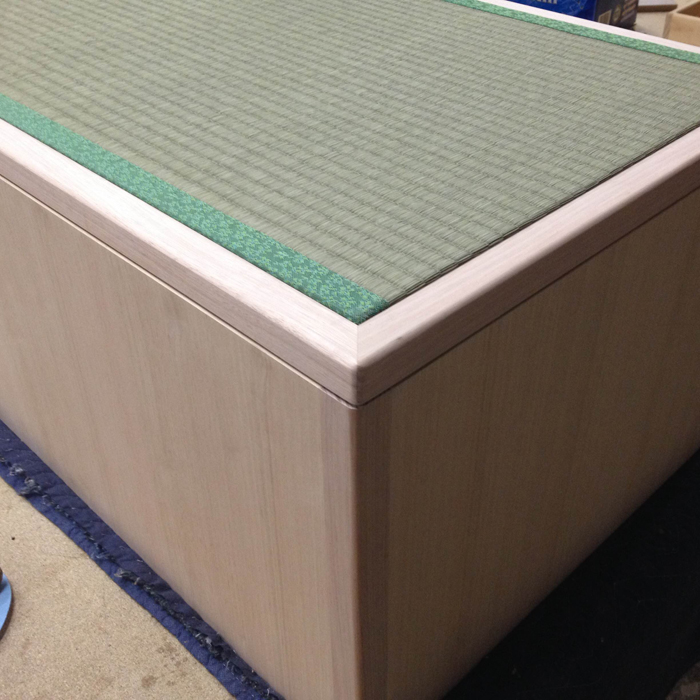
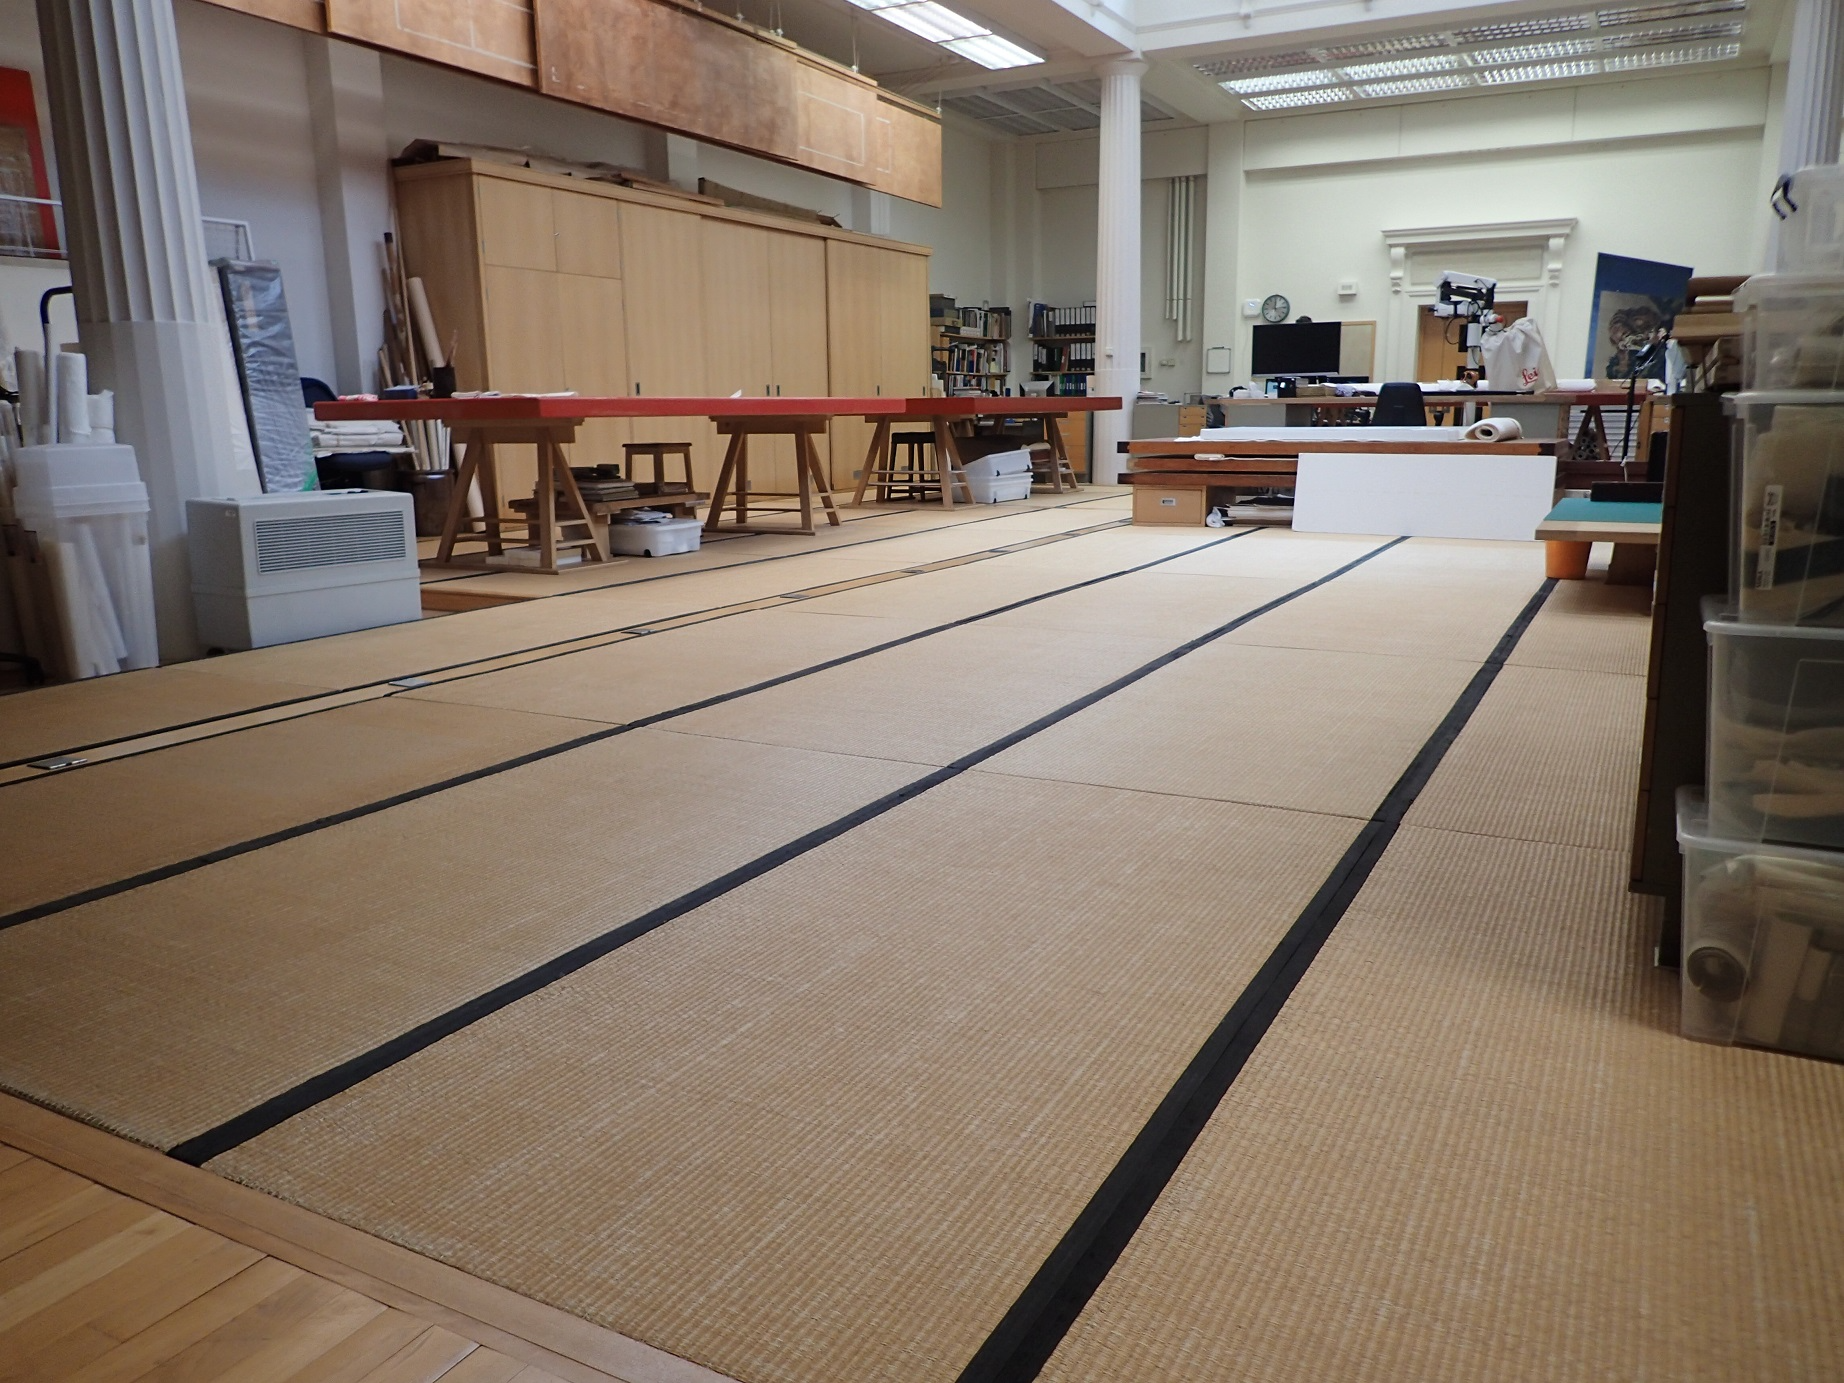
Tatami at the British Museum
Pre-installation photos from the Oriental Culture section.
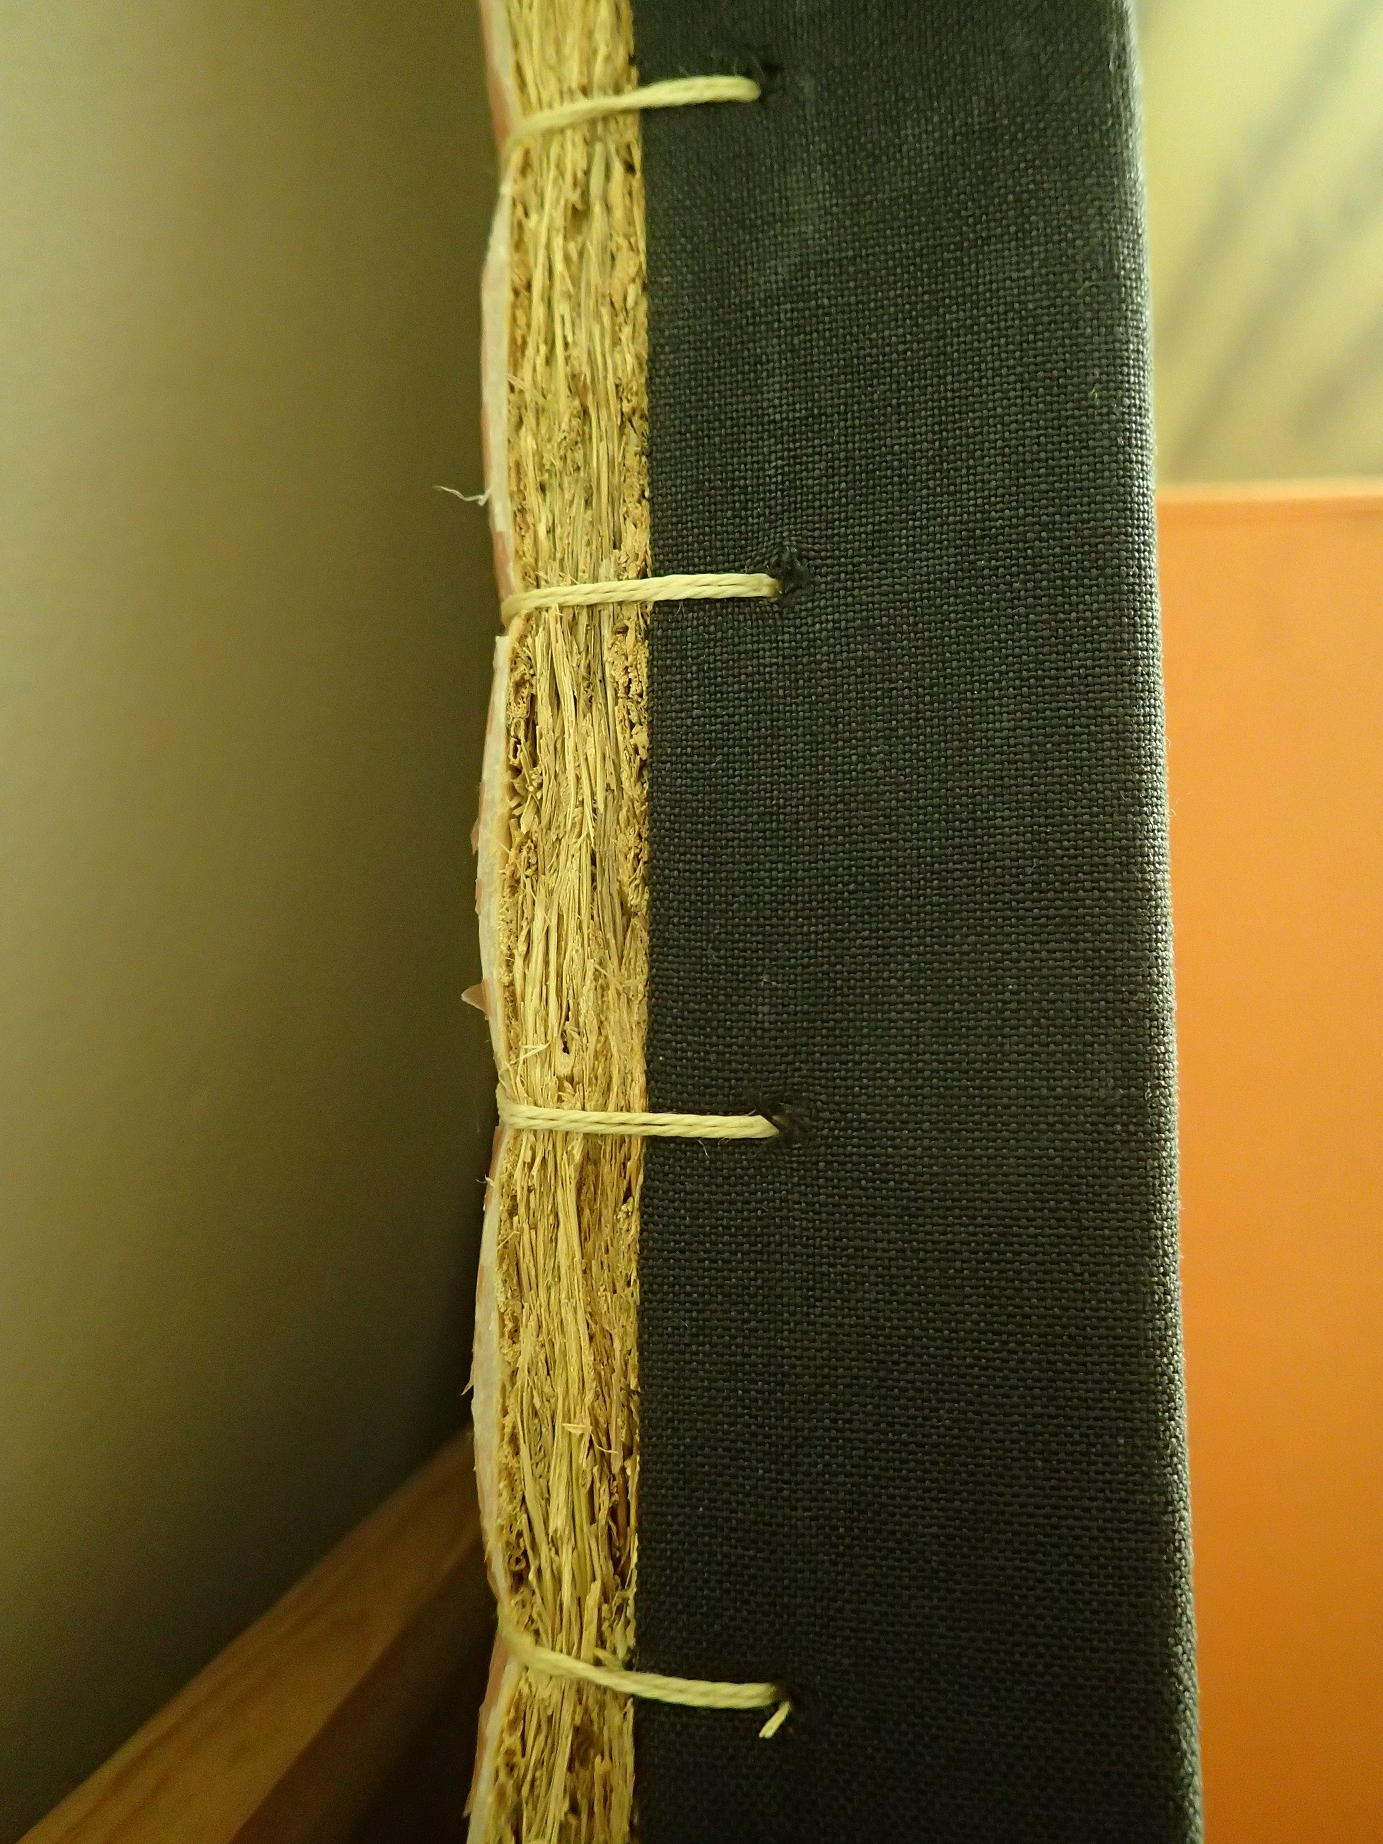

Case study: atelierDIDIER “Mushin Room”, Los Angeles
We collaborated with atelierDIDIER to fuse traditional Japanese tatami craftsmanship with modern creative studio aesthetics.
How to make a tatami mat with our kit
- Cut the plywood core 2 mm narrower and 3 mm shorter than the finished size (for example 898 x 1797 mm for a 900 x 1800 mm mat). Add fleece on top if you want a softer mat.
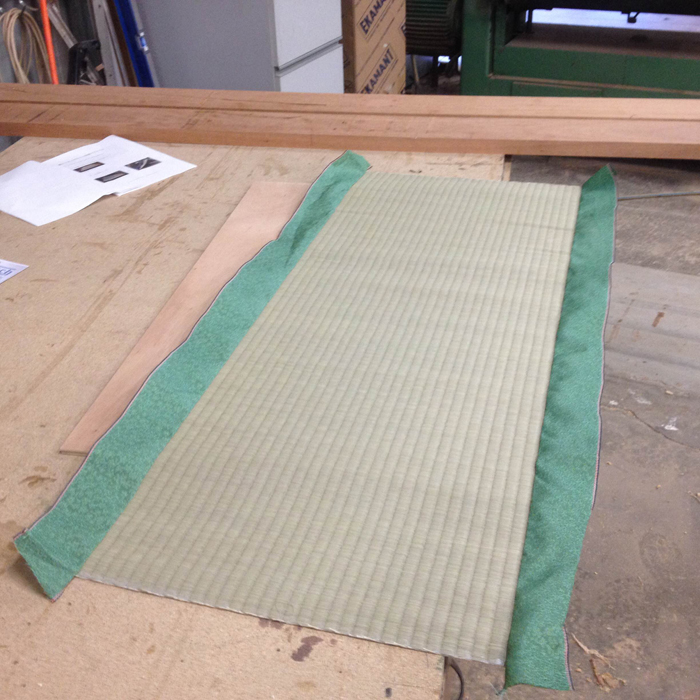
- Lay the tatami surface (goza) on your work table and fold the border along the sewn line on both sides.
- Turn the goza over and place the plywood on it. The goza extends about 15 cm beyond the plywood at each end.
- Fold one end over and staple it to the back of the plywood. Tap the staples flat with a hammer.
- Pull the goza tight toward the other end and staple along the edge every 3 cm. Do not staple the border itself.
- Fold the border inward at the four corners and staple them.
- If small wrinkles appear, smooth them with a towel and a steam iron. Keep the iron moving and never touch the border directly: it is nylon and melts.
Full instructions with photos: English manual (PDF)
What you need to prepare
Materials needed: Plywood (core), Staple gun (Tacker), Hammer, Gloves.
About the core (Plywood):
- Width: Subtract 2mm from your target size.
- Length: Subtract 3mm from your target size.
- Thickness: Keep within 2cm.
- Comfort Tip: Apply a soft material (like fleece) to the plywood for added comfort.
Have questions about preparation? Ask our master craftsman:
Ask the Tatami MasterProduct Pricing
Standard Size
Up to W900 x L1800mm
(Approx. 35.4" x 70.8")
¥8,500 / pc
King Size
Up to W1000 x L2000mm
(Approx. 39.4" x 78.7")
¥15,000 / pc
Order or get a quote for your DIY kit
Delivery time and shipping cost
Delivery time: about 1 week to make your kit + about 1 week in transit. Delivery in as little as 2 weeks.
Shipping cost examples (4 kits, box 25 x 25 x 100 cm, volumetric weight 12.5 kg):
| Destination | Approx. shipping | Carrier |
|---|---|---|
| USA | ¥26,400 | FedEx |
| EU | ¥39,700 | DHL |
| Singapore | ¥22,000 | FedEx |
| Australia | ¥36,000 | DHL |
Carrier rates as of September 2026. Rates change, so we confirm the exact cost in your quote.
Total cost = kit price + packing fee (¥2,500) + shipping. Import duties and taxes are paid to the carrier when you receive the parcel.
We offer a wide range of surface materials.
Click here to see more optionsDIY tatami kit FAQ
What is included in the DIY tatami kit?
The kit is the tatami surface sheet (goza) with the border (heri), in Standard or King size, plus about 10 small, thin tatami mats as a bonus. You add your own plywood core and fix the surface with a staple gun. No sewing is needed.
What tools do I need to make a tatami mat?
A plywood board for the core, a staple gun, staples, a hammer and gloves. A towel and a steam iron help to smooth small wrinkles at the end.
What size should the plywood core be?
Cut the plywood 2 mm narrower and 3 mm shorter than the finished tatami. For a 900 x 1800 mm mat, cut it to 898 x 1797 mm. Keep the plywood within 2 cm thick.
How long does delivery take?
About 1 week to make the kit and about 1 week in transit, so you can receive it in as little as 2 weeks.
How much is shipping?
For 4 kits (box 25 x 25 x 100 cm, volumetric weight 12.5 kg), shipping is about ¥26,400 to the USA, ¥39,700 to the EU, ¥22,000 to Singapore and ¥36,000 to Australia (carrier rates as of September 2026). A packing fee of ¥2,500 is added. Import duties and taxes are paid to the carrier on delivery.
Can I choose the tatami surface and border?
Yes. We offer natural rush grass, Japanese paper (washi) and other surface materials, and many border designs. Send us an inquiry and we will show you the options.